


Subscription management portal
The TuxCare subscription management portal is designed to easily manage your licenses of TuxCare products and services by means of a user-friendly interface.
Introduction
The following are available in TuxCare portal:
- Add, delete and edit licenses
- Add, delete and edit servers
- Choose payment methods and buy licenses
- Track all the associated costs
Create new account
If you are a first time user, go to https://portal.tuxcare.com and fill in the simple registration form to create your account. You will find your login and password in your welcome email.
Log in
Go to https://portal.tuxcare.com and sign in with your credentials.
Dashboard
Dashboard helps quickly navigate to your Products. It has the following tabs:
Products
Click Dashboard. You will be redirected to the My Products page.
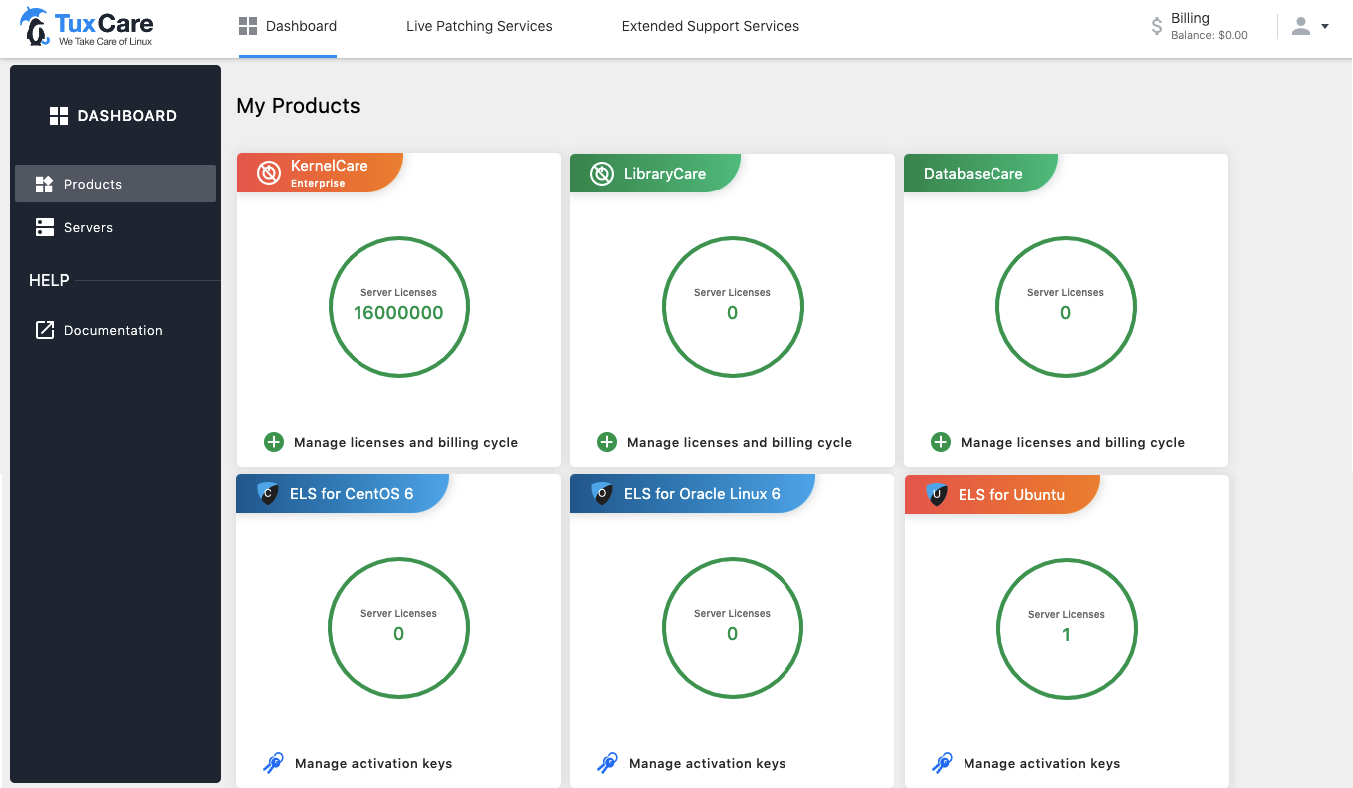
The following actions are available:
- Manage licenses and billing cycle. Click the link to contact our Sales team to change license quantity and product quota, and to manage the billing cycle.
- Manage activation keys. Shortcut to the Extended Support Services | Activation Keys page.
Servers
Click Dashboard → Servers to go to All Servers page. A list of all servers with installed products belonged to this account is available.

The table includes all servers that have been activated in all products within the account. The table contains the following columns:
- Server name — server hostname
- IP — server IP address
- Registered — a date when a server was activated. A server sends this information to TuxCare portal
- Group – server group (please refer to the TuxCare portal documentation to find more information about server group)
- Installed products — shows a logo of a product activated on a server
- Actions
- To remove an item, click on

- To remove an item, click on
Click the server name to show server details:
- Installed products – the full name of the installed products
- Last check-in — the last date when a server successfully responded to check-in
The following filters are available:
- Product — click Product button and select one or more products
- Registered date — click Registered date to display a calendar where you can pick a date or a period to filter by
- Search — type a query. A search is performed in Server name and Activation key entities
Live Patching Services
Click Live Patching Services You will be redirected to the Server License Types page.
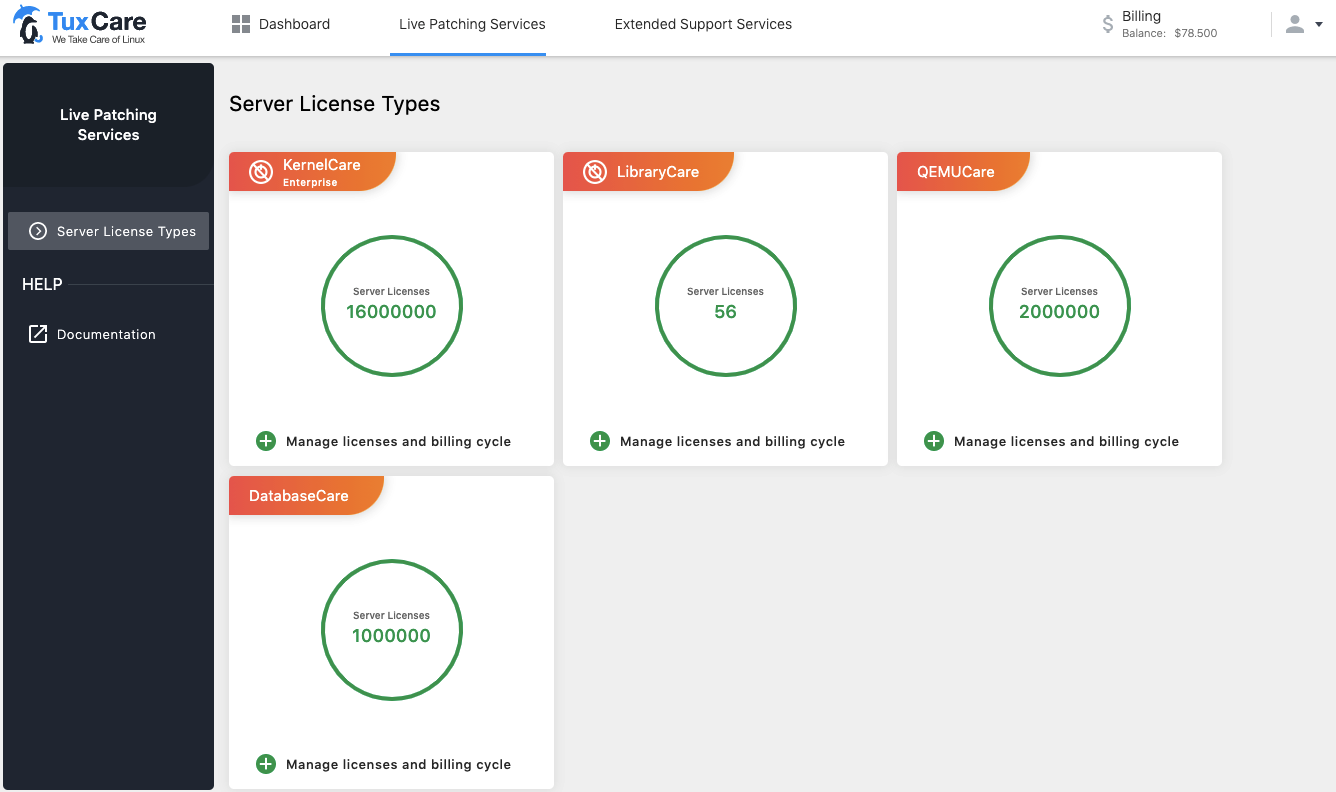
Here you can see the number of server licenses and manage licenses and billing cycle by contacting TuxCare Sales team.
Extended Support Services
Click Extended Support Services You will be redirected to the Server License Types page.
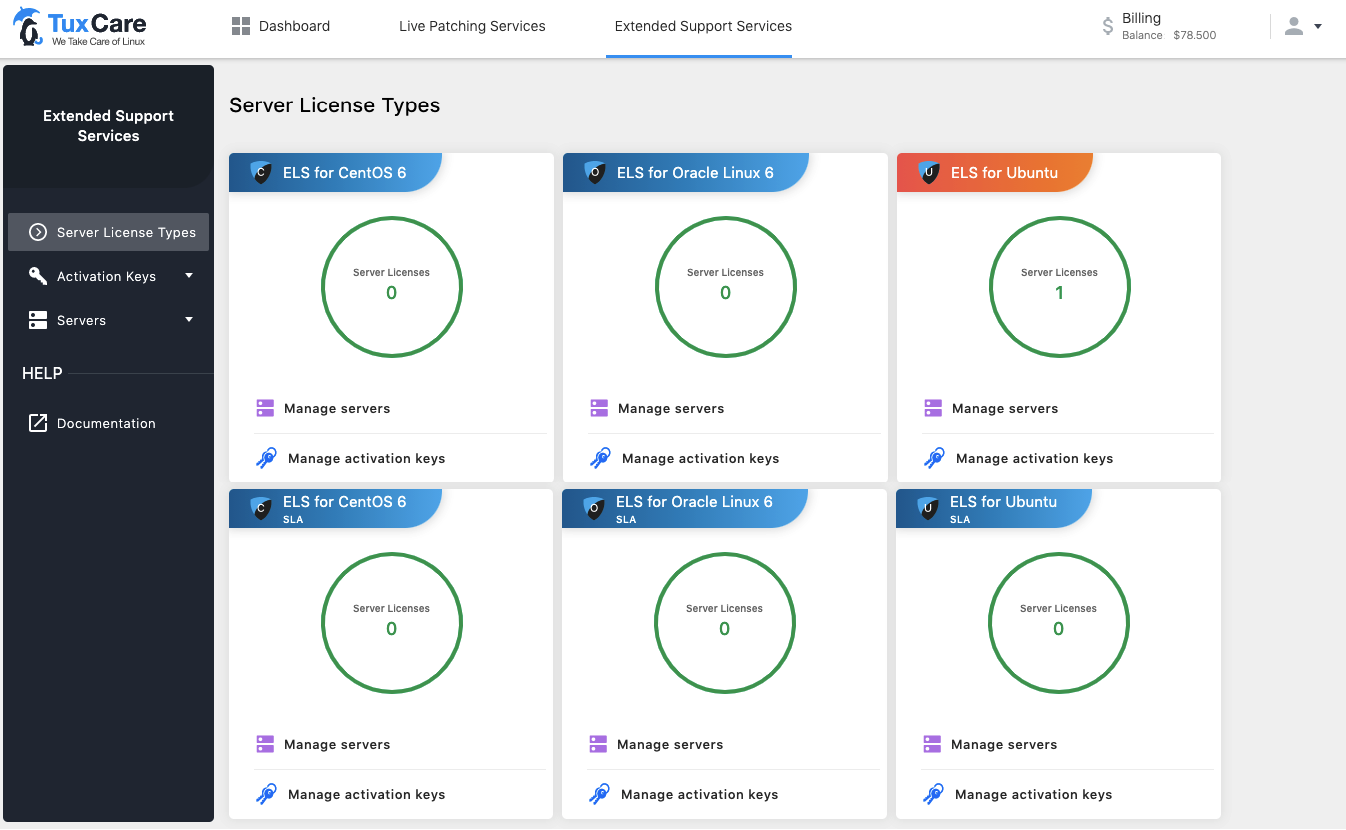
Server License Types
Here you can see the the number of server licenses for each product.
- Manage servers – shortcut to the Servers | Selected product page
- Manage activation keys – shortcut to the Activation Keys | Selected product page
Activation Keys
Click Extended Support Services → Activation Keys. You will be redirected to the Activation Keys page.
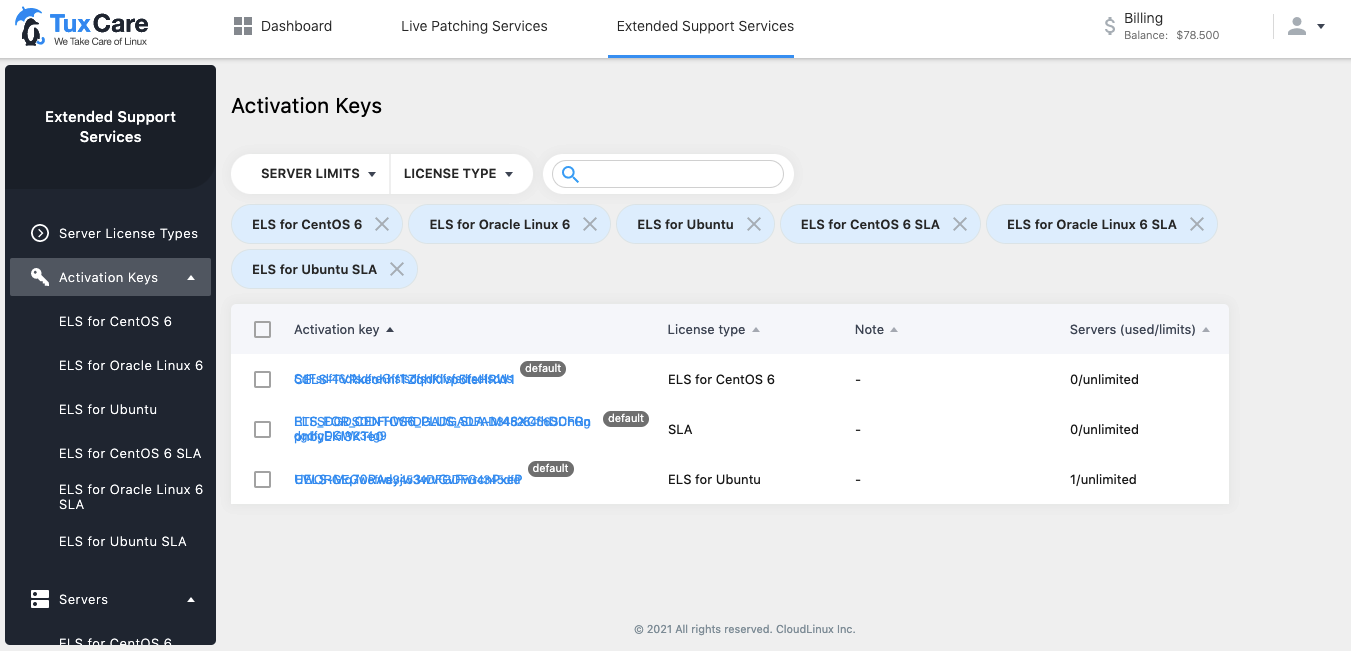
Activation Key is a string of numbers and letters used to activate a product.
The table includes all activation keys for all products within the account. The table contains the following columns:
- Activation key – is a string of numbers and letters used to activate a product
- License type — a type of server license that is used and determines a limit of server users
- Note — any information you’ve added to this activation key
- Servers (used/limits) – a number of servers that have already been activated with this key (used) and a total number of servers that can be registered with this particular key (limits)
- Tick – tick an activation key or keys to perform a remove action (use
 )
)
Note
The default activation key cannot be deleted.
The following filters are available:
- Server limits — filter by server limit/unlimited
- License type — filter by license type
Click an activation key to go to this Activation Key Details page.
Activation Keys by product
Click Extended Support Services → Activation Keys → Product. You will be redirected to the Product Activation Keys page.
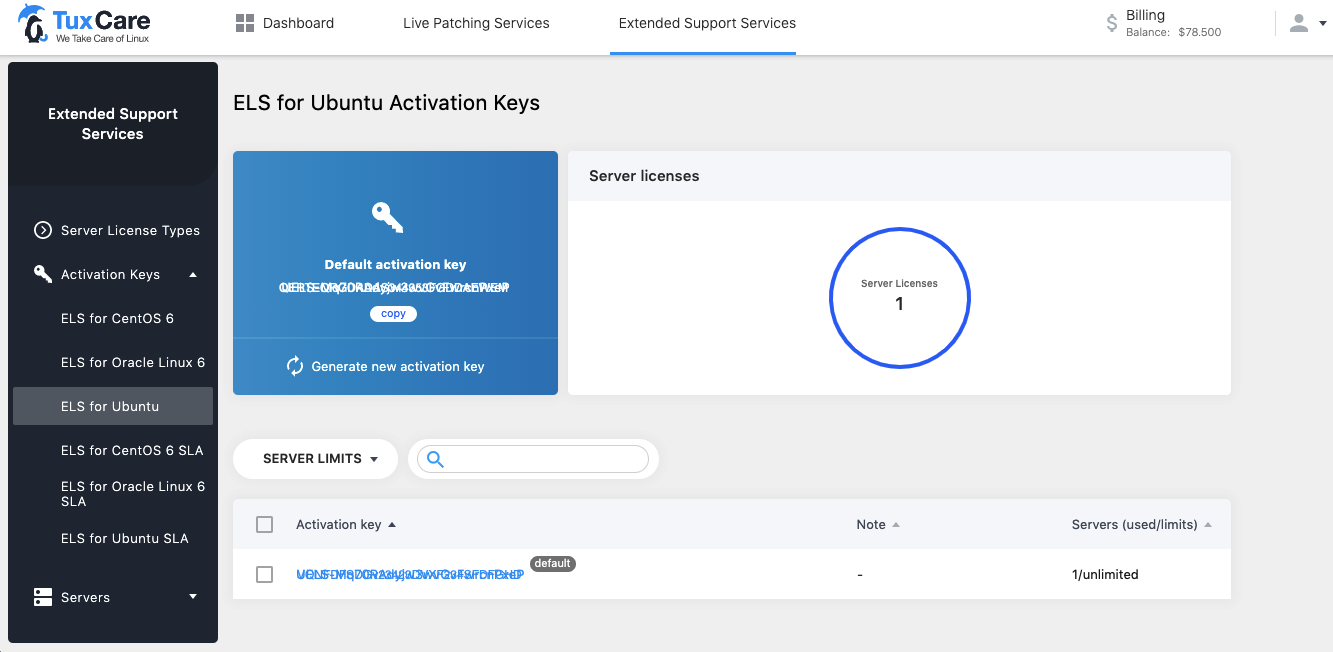
- If there are no activation keys for the product, you can create one by clicking the Create activation key.
- If there is the default activation key for the product, you can generate a new one by clicking the Generate new activation key. A new key will be created automatically and added to the table.
- You can copy an activation key by clicking Copy.
The table includes all activation keys for the product. The table contains the following columns:
- Activation key – is a string of numbers and letters used to activate a product
- Note — any information you’ve added to this activation key
- Servers (used/limits) – a number of servers that have already been activated with this key (used) and a total number of servers that can be registered with this particular key (limits)
To remove a key, select it and click .
The following filters are available:
- Server limits — filter by server limit/unlimited
- Search
Click a key to go to the Activation Key Details page for this key.
Activation Key Details
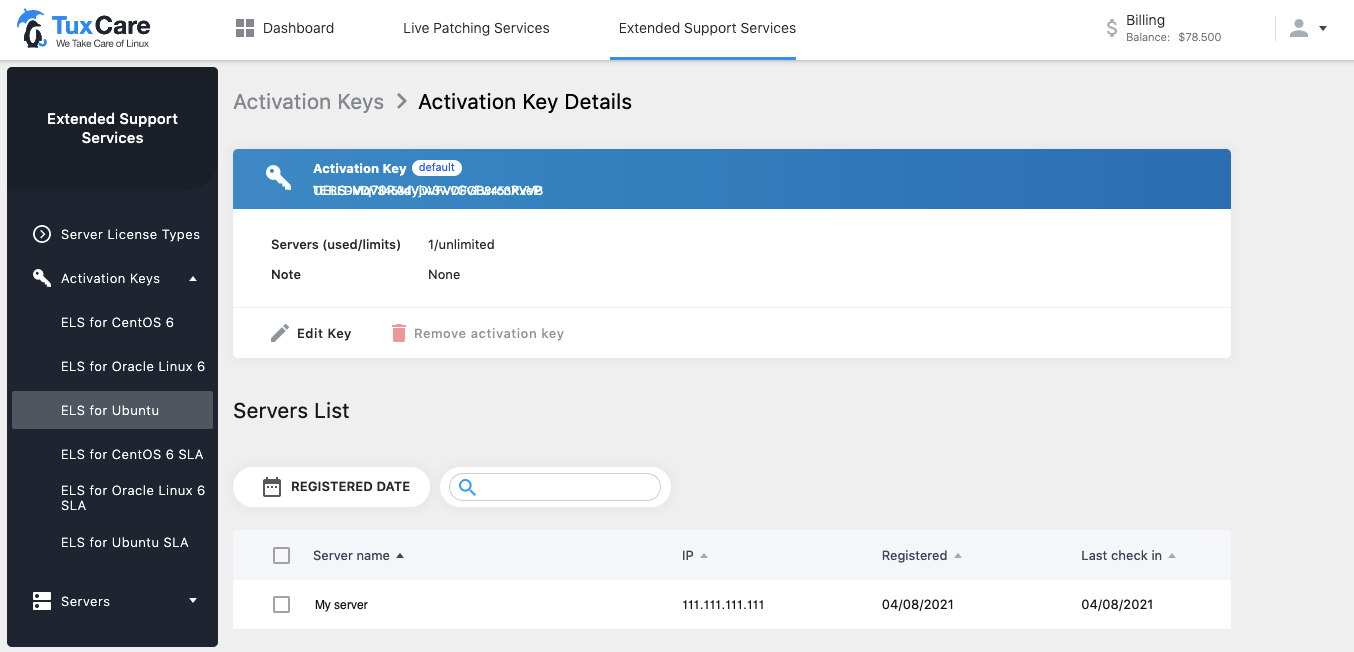
Here you can:
- See the activation key complete information
- Edit key. Click Edit key
- Remove key. Click

- Review Servers List
The table includes all servers registered with the key. The table contains the following columns:
- Server name — server hostname
- IP — server IP address
- Registered — a date when a server was activated. A server sends this information to TuxCare portal
- Last check-in — the last date when a server successfully responded to check-in
The following filters are available:
- Server limits — filter by server limit/unlimited
- Search field
Servers
Click Extended Support Services → Servers. You will be redirected to the Servers page.
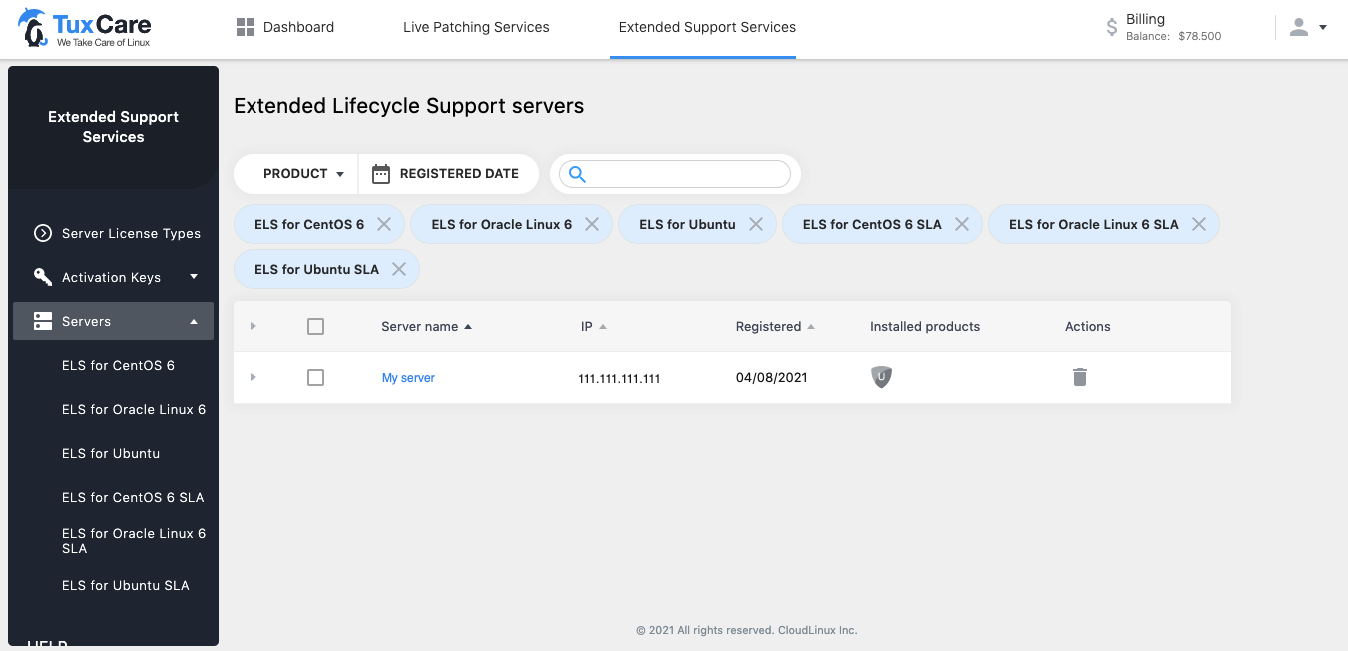
The table includes all servers activated for all products within Extended Lifecycle Support. The table contains the following columns:
- Server name — server hostname
- IP — server IP address
- Registered — a date when a server was activated. A server sends this information to TuxCare portal
- Installed products — shows a logo of a product activated on a server
- Actions
- To remove an item, click on
- To remove an item, click on
Click the server name to show server details:
- Installed products – the full name of the installed products
- Last check-in — the last date when a server successfully responded to check-in
The following filters are available:
- Product — click Product button and select one or more products
- Registered date — click Registered date to display a calendar where you can pick a date or a period to filter by
- Search — type a query
Servers by product
Click Extended Support Services → Servers → Product. You will be redirected to the Product Servers page.
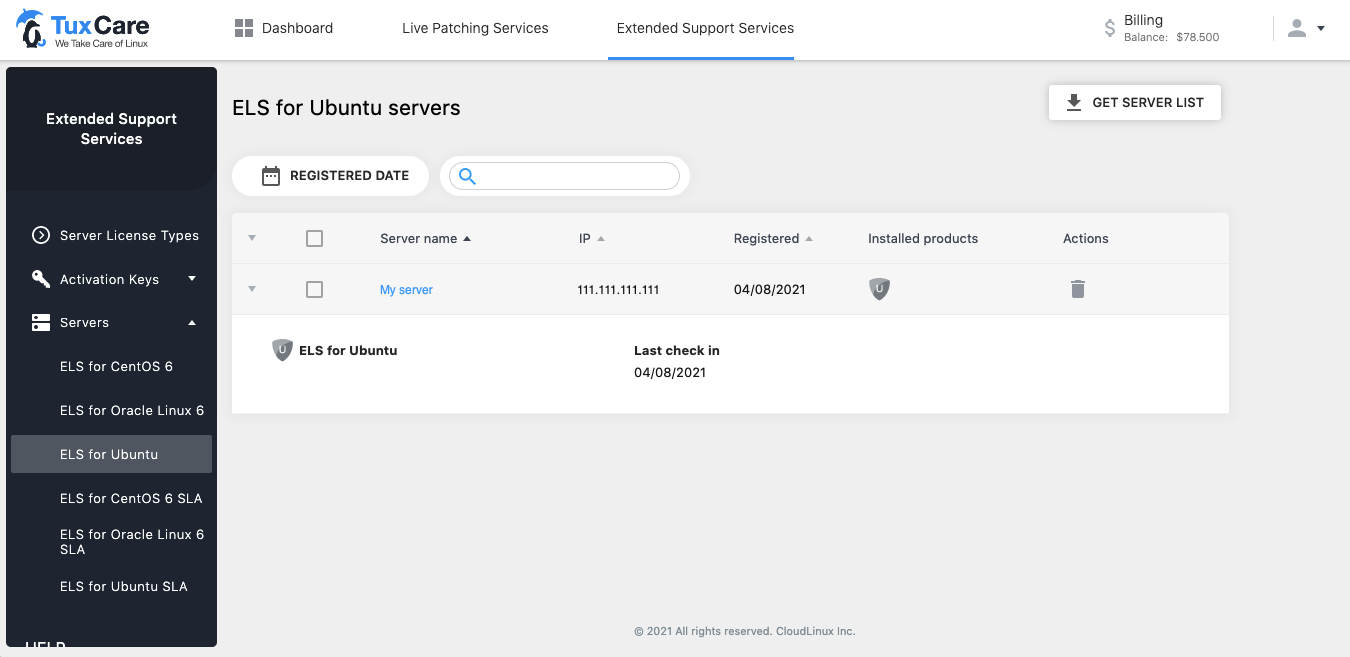
The table includes all servers activated for the product within Extended Lifecycle Support. The table contains the following columns:
- Server name — server hostname
- IP — server IP address
- Registered — a date when a server was activated. A server sends this information to TuxCare portal
- Installed products — shows a logo of a product activated on a server
- Actions
- To remove an item, click on
- To remove an item, click on
Click the server name to show server details:
- Installed products – the full name of the installed products
- Last check-in — the last date when a server successfully responded to check-in
The following filters are available:
- Registered date — click Registered date to display a calendar where you can pick a date or a period to filter by
- Search — type a query
You can download the servers list by clicking the Get servers list.
Billing
Balance and Top up
Click Billing, you will be redirected to the Balance and Top up page.
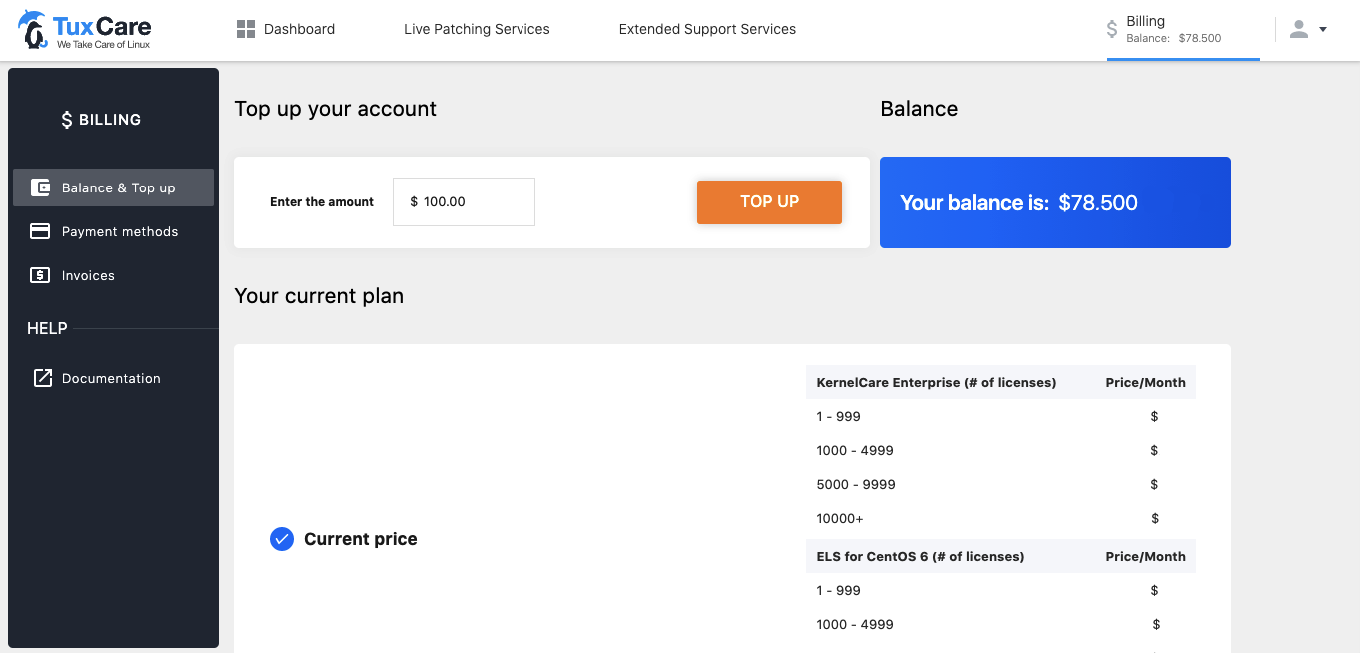
Here you find the following:
- your current plan and prices
- your balance
You can top up your account by entering the amount and clicking Top up.
Payment methods
Click Billing → Payment methods, you will be redirected to the Payment methods page.
The following tabs are available:
- Billing information
- Payment methods
- Autopayment
Billing information
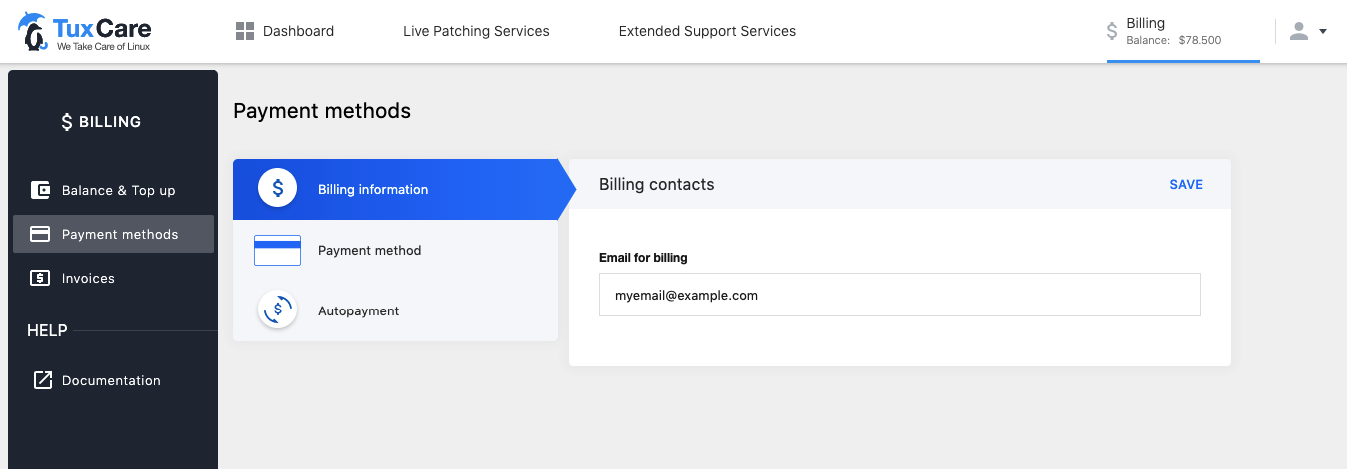
Here, you can change your email for billing. Click Save to apply changes.
Payment methods
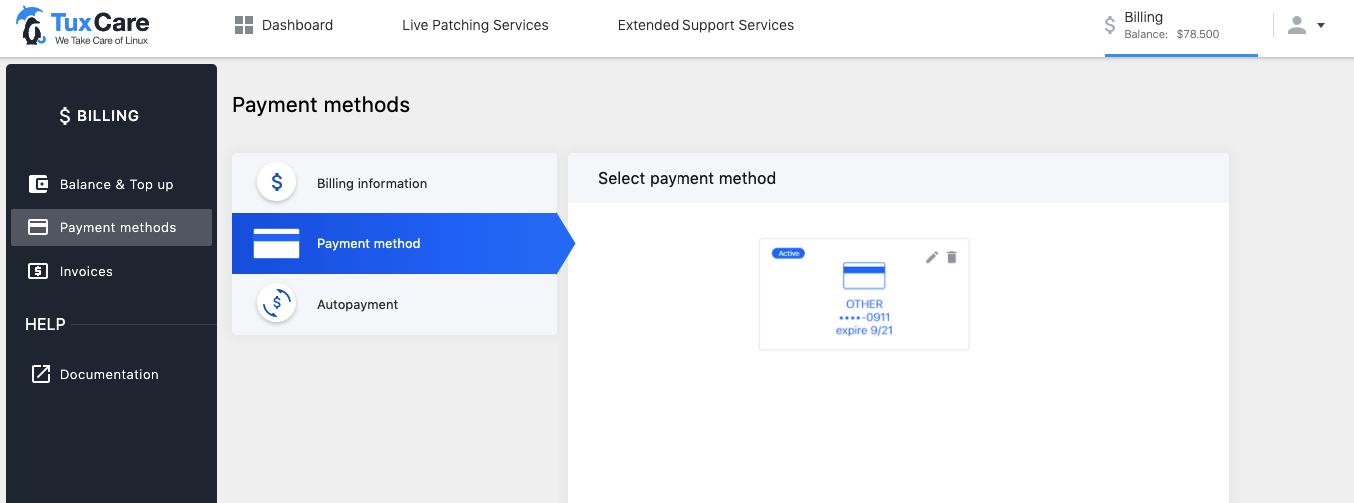
Here, you can manage your payment method. Click Save to apply changes.
Autopayment
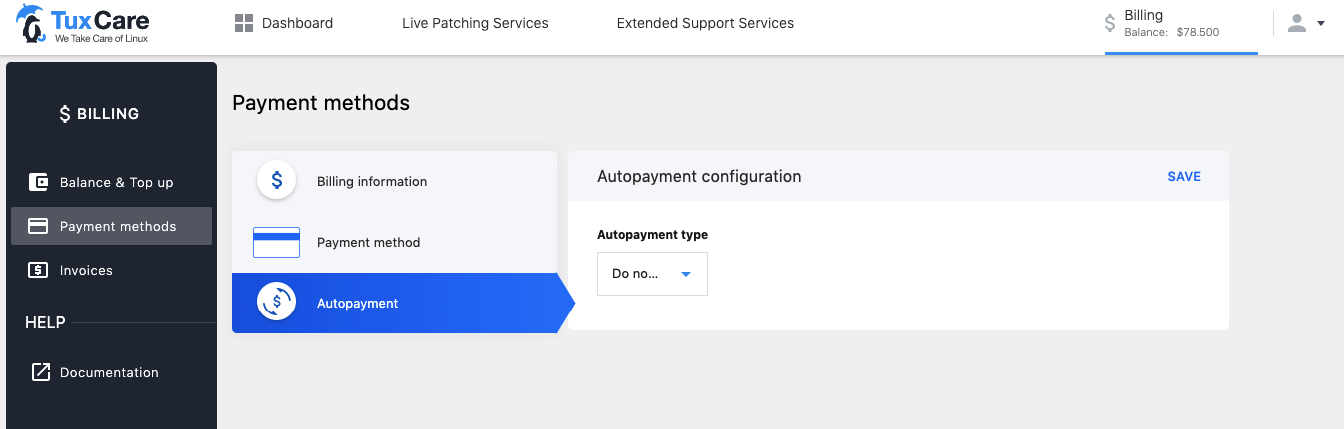
Here, you can change your autopayment type:
- Auto add funds
- Auto repay
- Do not add funds automatically
Click Save to apply changes.
Invoices
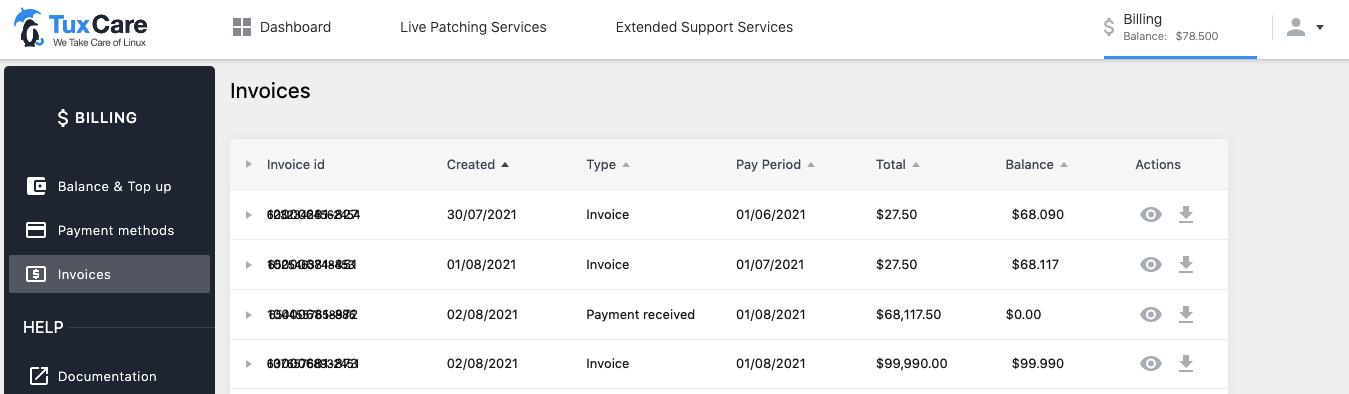
The table contains the followings columns:
- Invoice id – unique invoice number
- Created — invoice issue date.
- Type – type of payment: invoice or payment received
- Pay period – the start date of the period for which the invoice was issued
- Total — a total amount received/need to pay
- Balance – the current balance
- Actions — the following actions are available:
- View invoice — click
 to view invoice in-details. It opens in a new popup.
 - Download invoice — click
 to download an invoice.
- View invoice — click
Click  to view the invoice details.
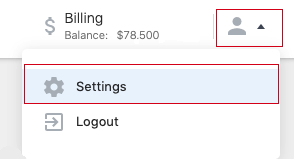
Settings
To go to account details, click User icon → Settings in the top right corner. You will be redirected to the Account details page.
Account details
The following tabs are available:
- Personal information
- Company information
- Billing contact information
Personal information
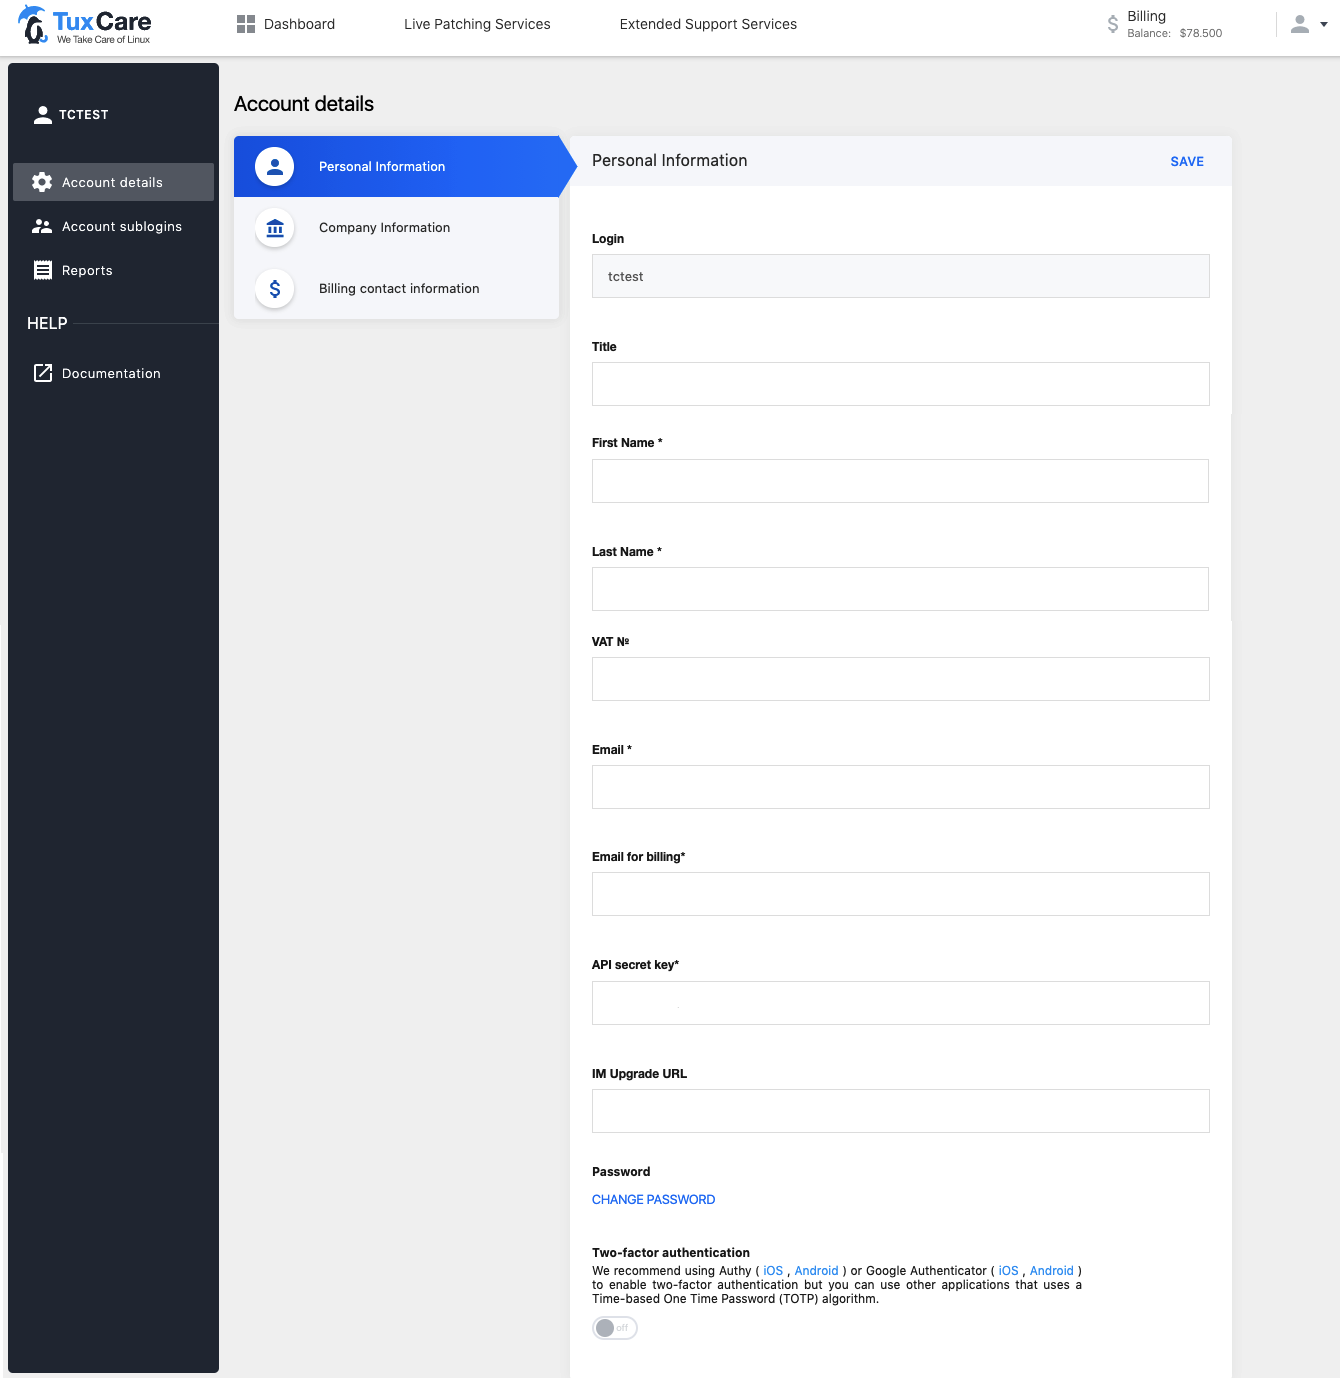
All fields marked * are required.
- API secret key – use this key with TuxCare portal API
- IM Upgrade URL – URL for upgrade Imunify products if it is not the default one
To change the password, click Change password.
To enable two-factor authentication, move the slider to On.
Click Save to apply changes.
Company information
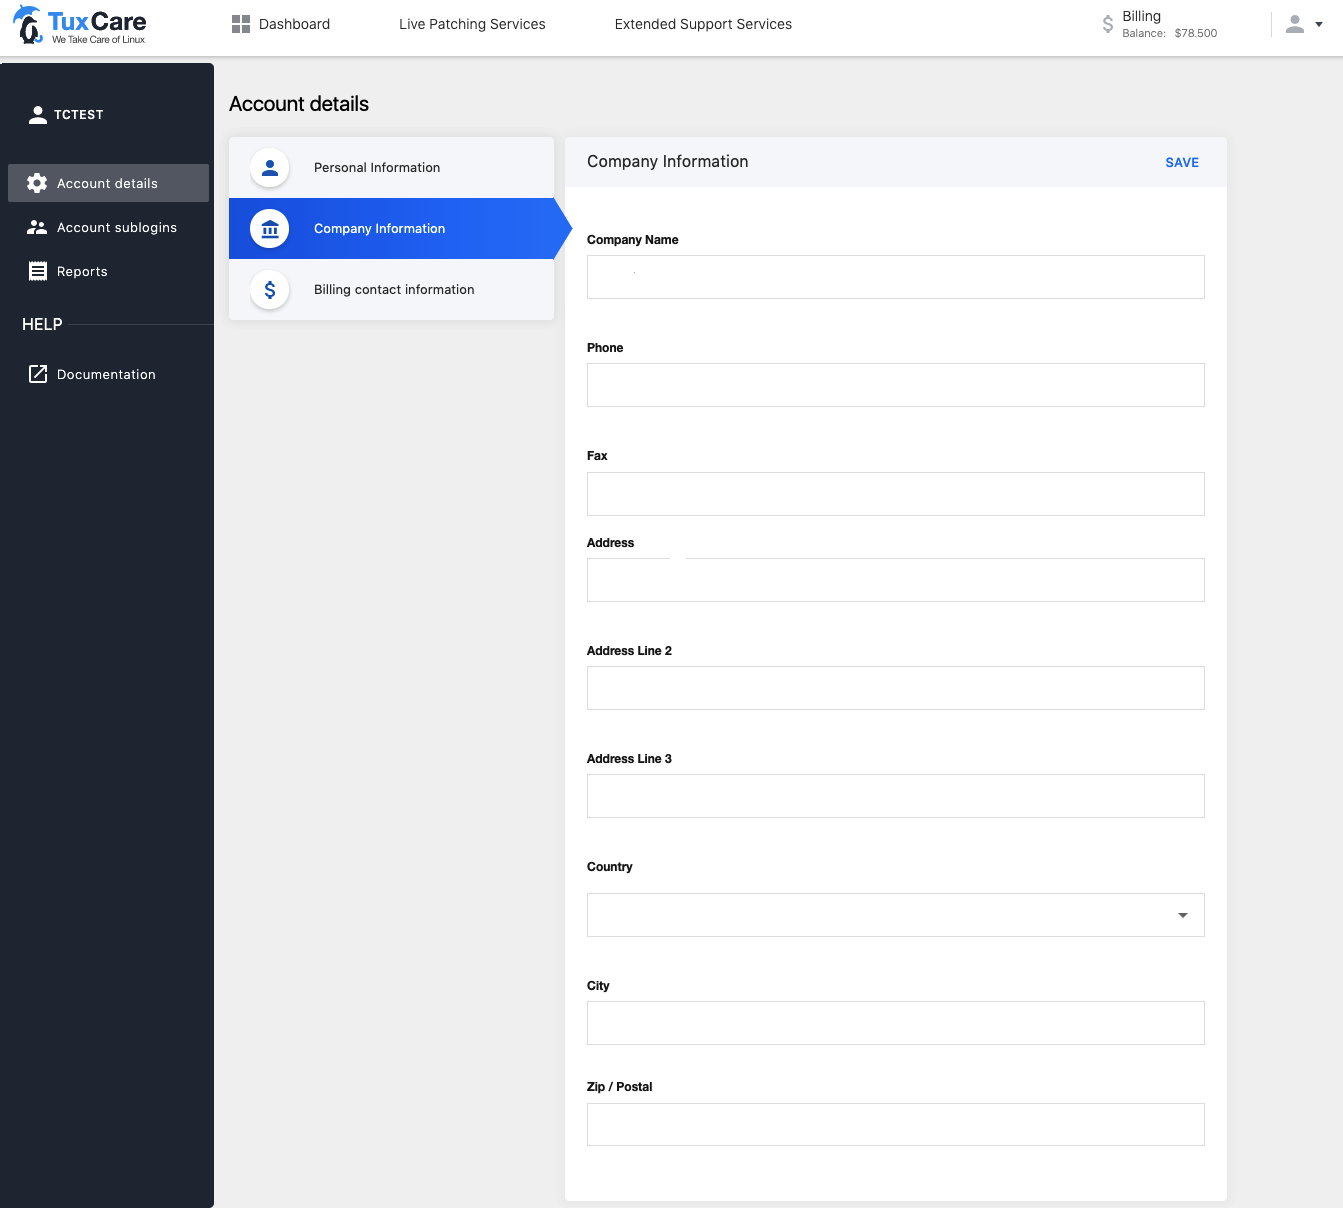
Click Save to apply changes.
Billing contact information
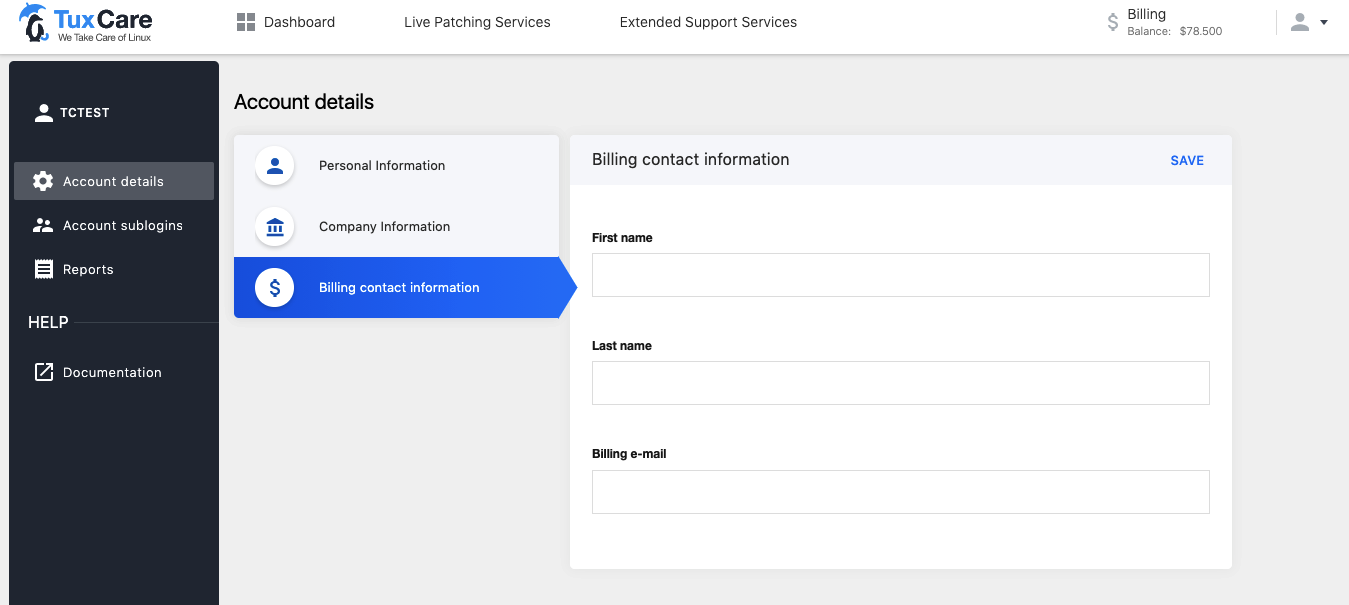
Click Save to apply changes.
Account sublogins
You can create additional logins for your account in the form of the email address. The sub login can have any role with different permissions listed below. A master Server Administrator account has the full scope of permissions; this role can create account sub logins.
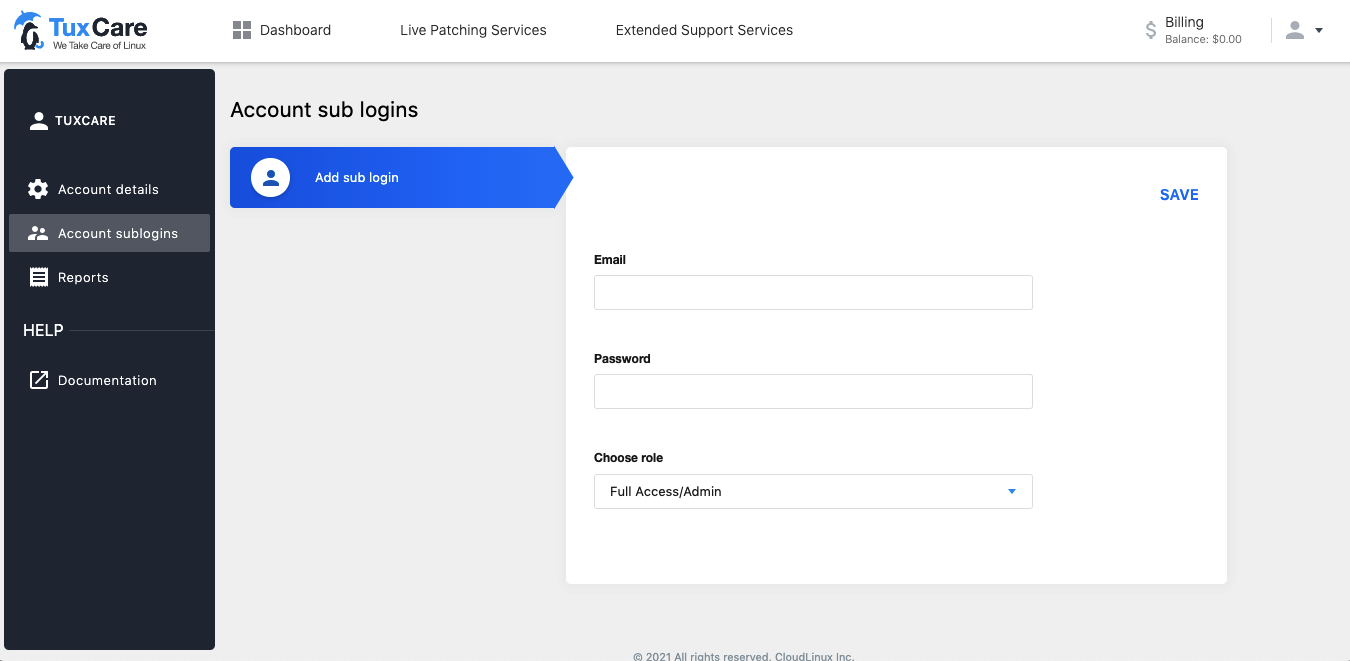
Click Save to apply changes.
Roles
Full Access/Admin
- View products
- View servers/licenses information
- Reporting
- Add/delete servers
- Create activation keys
- Order/delete licenses
- View invoices
- View billing information
- Edit credit cards information
- Edit account information
- Edit billing information/top up for reseller
- View prices
- View account information
- Change password
Billing
- View products
- View server's/licenses information
- View invoices
- View billing information
- Edit credit cards information
- Edit account information
- Edit billing information/top up for reseller
- View prices
- View account information
Server and License Management
- View products
- View server's/licenses information
- Reporting
- Add/delete servers
- Create activation keys
- Order/delete licenses
Server Management Only
- View products
- View server's/licenses information
- Reporting
- Add/delete servers
- Create activation keys
Read Only — Billing
- View products
- View server's/licenses information
- Reporting
- View invoices
- View billing information
Read Only — Server Management
- View products
- View server's/licenses information
- Reporting
Reports
It is possible to set reports receiving for an account to the desired email address.
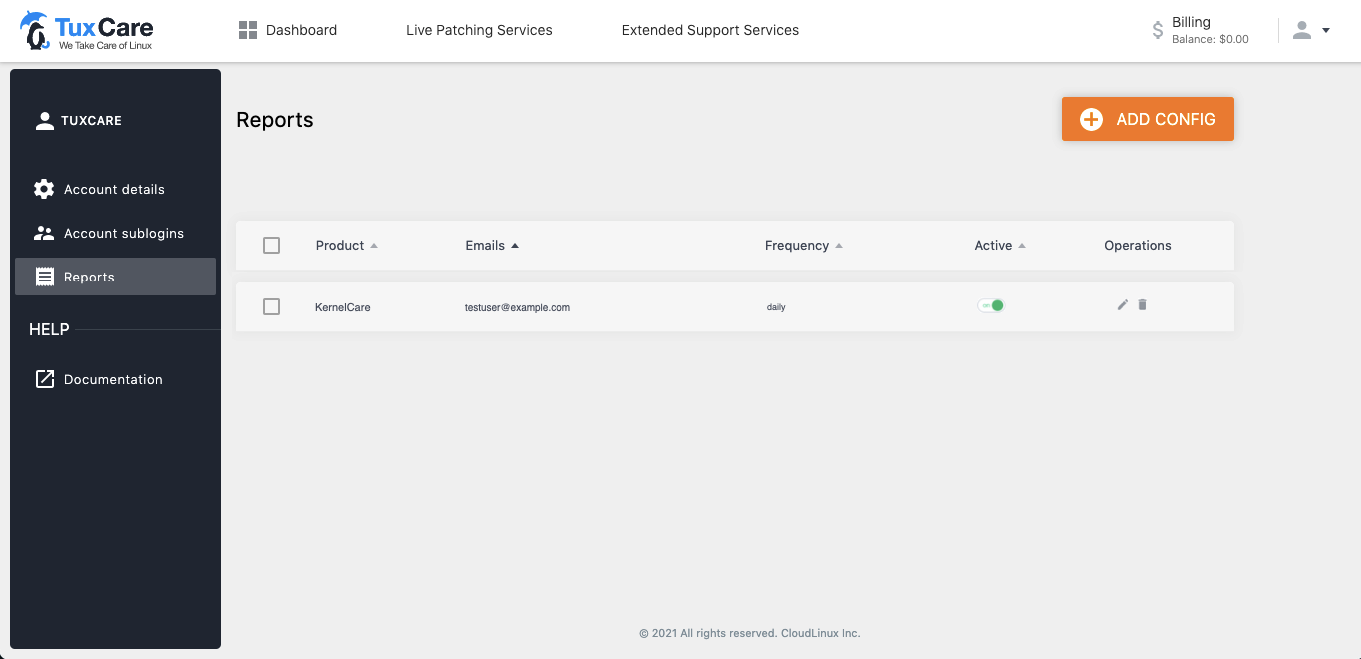
To add a new report configuration, click Add config.
